Hello my friends, Hope you are all having a lovely weekend so far! I’m having fun creating summer cards, and today I’m using a stamp sets from the Not 2 Shabby Shop’s June release. This set is called, “Be Mermazing,” and it’s filled with the cutest underwater creatures as well as the prettiest mermaid.
I created two wreath cards with this set, and I used two different watercolor mediums to color them in as well as the backgrounds.
I also have a 10% off coupon code for you from the Not 2 Shabby Shop: N2S10

Card 1: Underwater Wreath Card

For my first card I stamped out all the images with VersaFine Onyx Black Ink and then heat embossed them with Clear embossing powder. The paper I used was Stonehenge hotpress watercolor paper. To color in these images I used some liquid watercolors–Dr. Ph Martin watercolor. This was my first time using these watercolors, and I really enjoyed using them–they are vibrant and beautiful.
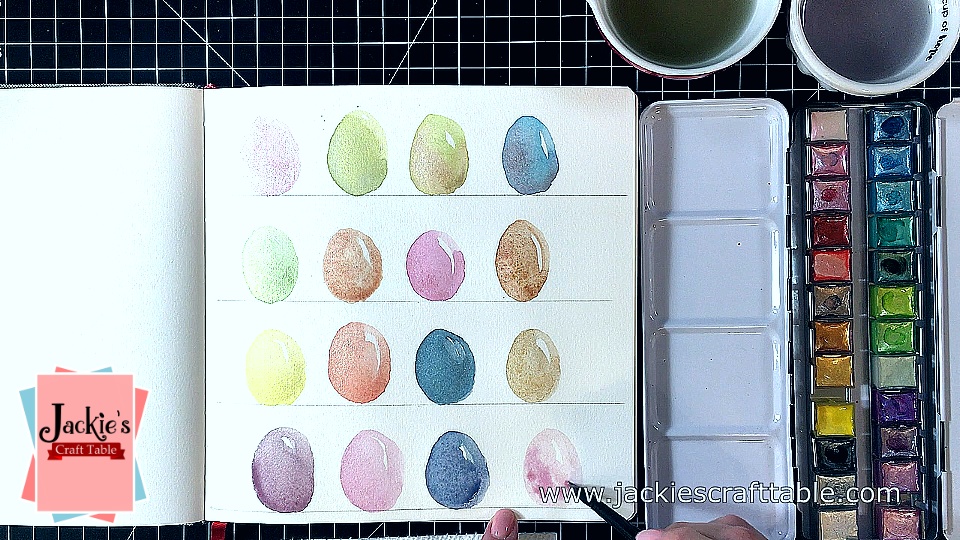
The raised lines of my heat embossed images made watercoloring them fast and easy. I had so much paint left over in my butcher’s tray that I decided to create some backgrounds with it. I dipped a watercolor paper panel into the blue and green and purple paint, and it turned out with a smooth, marbled look. I was able to use this panel for both cards.
Card 2: Mermaid & Pearls Shaker Card

On card #2 I stamped out the pearls and shells image out several times. I wanted to create a shaker window with this single image. Again I heat embossed the images, but this time I colored them in with some Zig Real Brush Pens.
I fussy cut out all the images and glued the pearls and shells together to create a circle. I then glued on a panel of acetate and popped it up with a double layer of foam adhesive. I used a lot of clear confetti pieces inside the shaker. I also popped up the mermaid on the outside to match the height of the shaker window.

Below is the process video. I hope you enjoy it!
Thanks for stopping by!
Featured Products:
Not 2 Shabby Shop: https://www.not2shabbyshop.com/?AffId=19
Hugs & Fishes Stamp Set: https://www.not2shabbyshop.com/Hugs-Fishes–4X6-Clear-Stamp–N2S_p_16117.html?AffId=19
Be Mermazing: https://www.not2shabbyshop.com/Be-Mermazing–4X6-Clear-Stamp–N2S_p_16118.html?AffId=19
Trinity Stamps Bubble Bath Beads: http://shrsl.com/31r98
Trinity Stamps Clear Confetti: http://shrsl.com/31r9q
Art Mediums:
Dr. PH Martin’s Liquid Watercolors: https://amzn.to/3xWIjpA
Watercolor Brushes: https://amzn.to/3jerVfW
Zig Watercolors: https://amzn.to/3h78H9r
Wink of Stella Clear Glitter Pen: https://amzn.to/3w3eqTA
Tools:
Butcher Tray: https://amzn.to/2TaW7Of
Mini Misti: https://amzn.to/2LpHJva
Original Size Misti: https://amzn.to/2A8jbjA
Making Paper (Post-It Notes full stick coverage): https://amzn.to/3hovjnC
Reverse Tweezers: http://shrsl.com/2ydxi
Fiskars Paper Trimmer: https://amzn.to/2NR4Xvw
Score Board: https://amzn.to/2NSMA9z
Cutter Bee Scissors: https://amzn.to/34EWamG
Ink Blender Tools: https://amzn.to/3kyJG8r
Antistatic Powder Bag: https://amzn.to/3jO5sVg
Inks:
Versafine Onyx Black Ink: https://amzn.to/2ULzqAZ
VersaMark Ink: https://amzn.to/3dgEZNp
Adhesives:
Jackie’s Craft Table Glue: https://etsy.com/shop/JackiesCraftTable
Kokuyo Dotliner: https://amzn.to/2MwZ2gS
Best Ever Craft Tape: http://shrsl.com/2rdxo
Darice Foam Strips: https://amzn.to/3ferPRY
Paper:
Stonehenge Hot Press Watercolor Paper: https://amzn.to/2TdHzgO
Bristol Smooth Cardstock: https://amzn.to/3xX54JX
Waterfall Cardstock: https://shrsl.com/2u462
Neenah Solar White 110 lb Cardstock: https://amzn.to/3eaPm5I
Some of the links above are affiliate links, which means I receive a small commission on sales at NO EXTRA COST to you. Thank you!
#not2shabbyshop @not2shabbyshop