Hello! Thanks for visiting my blog! I’ve created a fun and bright birthday card for this week’s video. The star of this card is the awesome background stamp called Abstract Triangles. It caught my eye when it came out a few months ago. I was planning on using it to make a Christmas card. I was going to color in the triangles in various shades of green, but I missed that boat. So for this card I mixed up various shades of coral. I love how this background turned out–the orange tones are bright and cheery and the white spaces I left just makes it all pop.
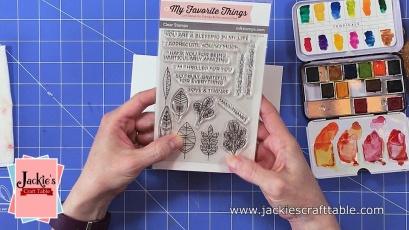
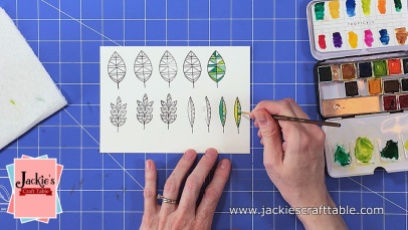
Then I remembered my Geometric Greenery stamp set in my stash, and I thought that would be perfect to add more color and interest to my card. I used three different shades of green to color in these leaves. To stamp out all my images I used VersaFine Onyx Black Ink because it’s waterproof.

For the sentiment I heated embossed the word “fabulous” onto some black card stock and for the word “absolutely” I simply stamped that out with more VersaFine ink. I pulled out my Stitched Banners dies to cut them out. I love these dies and use them whenever I get the chance.

I popped up the “fabulous” sentiment with some foam tape and I adhered everything else with some Ranger’s Multi Medium Matte glue.

I almost forgot to stamp my finishing sentiment on the inside of my card. I pulled out my Mini Misti to do this to ensure I stamped it perfectly–after all that work, I didn’t want to mess up my card.

Here’s the video! You can watch it here or in HD on my YouTube Channel.
List of supplies:


