Uncategorized

Copic Markers VS Prismacolor Pencils using MFT’s Fall Friends

Here is my first fall themed card of the year!  I’m getting started a bit early.  The last few days of summer are quickly waning, and I’m trying to console myself by focusing on the fabulous things that fall time has to offer, like cards with scarecrows and pumpkins!  (Apple cider donuts!!  Lol!!)  I created another “same cards, different mediums” video to show you today.

I stamped out two of each image onto some Neenah Solar White Cardstock.  I colored my favorite image first–the scarecrow–with some Copic markers.

Image1

Then, using similar colors, I used some Prismacolor pencils on the same image.

Image2

After I finished all of my coloring, I used the coordinating dies to cut them out.  I also cut out my panels and frames and started adhering them onto my card bases using some dry adhesive.

Image4

Before adhering my images, I stamped out my sentiment using my Mini Misti.

Image5

I used foam squares to pop up my scarecrows and my birds.  As a finishing touch at tied some tiny twine bows around the stems of the pumpkins.

Image6

I don’t know which card I like the best.  Copics and Prismacolors each give off their own distinct looks, and now I have two cards to send off in the mail to brightens someone’s fall day!

Thanks for visiting my blog!! Wishing you all a very happy fall this year!!

Here is the video of how these cards came together. You can watch them here below or on my YouTube channel.

Supply List:
MFT’s Fall Friends Stamps
Copic Markers – http://amzn.to/2wfHg75
Prismacolors – http://amzn.to/2wfm7Kj
Mini Misti – http://amzn.to/2iFd3cW
Sizzix Big Shot – http://amzn.to/2wlT4D9
May Arts Twine – http://amzn.to/2xJMtSB
Die-namics Stitched Rectangle Scallop Edge Frames – http://amzn.to/2xuZ905
Lawn Fawn Large Stitched Rectangle Dies – http://amzn.to/2wm1Z7x

Uncategorized

Chalkboard Card using Pigment Inks

I’m trying out some new pigment inks called VersaMagic Dew Drop inks.  Their write-up says their opaqueness is perfect for stamping on dark colored paper, including black.  I love the look of chalkboard cards, so I thought I’d give them a try.

Chalk_THUMB

I started out with some thick black cardstock and heat embossed my jar image onto it with some white embossing powder.

Image1

I finally gave my husband back his industrial heating tool that I’ve been using for years. While I was on vacation, I picked up a small folding embossing tool at Hobby Lobby.  It’s from Paper Studio, and it works really great!

Stamping out these flowers is what took up the majority of my time for this card.  I stamped each one at least three times to make it dark enough to see on the black cardstock.

Image2

I drew in the stems with a white colored pencil and then colored over them with green.  I had to use the white colored pencil first, or the green pencil wouldn’t show up on my card.

Image3

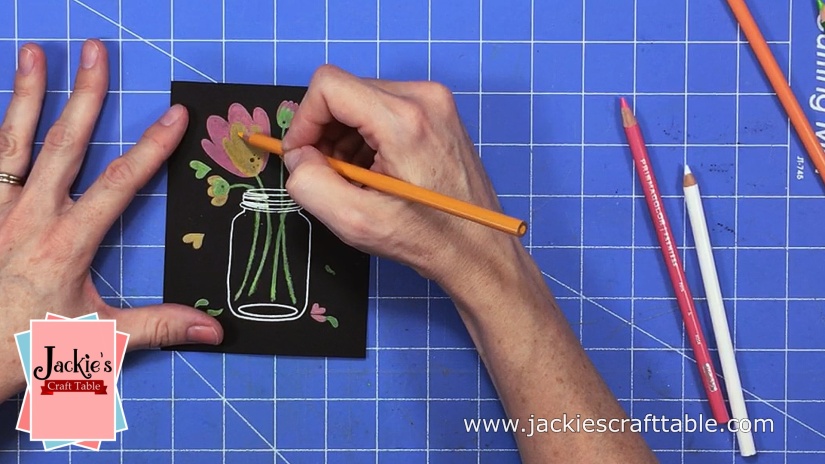
After the ink was dry, I went over my flower images with Prismacolor pencils to add even more color.  I could have stamped out my images with white pigment ink first and then added the colored ink, but I wanted to see how these inks would look on their own.  I like these VersaMagic inks, but I think they perform better on white cardstock.  They are really bright pretty colors when stamped on white.

Image4

Below is the video of how this card came together.  You can watch it here or on my YouTube Channel in HD.


Thank you for stopping by!  Have a wonderful day!!

Supply List:

Wplus9 Summer Blooms stamp set

http://amzn.to/2hXC1nd
http://amzn.to/2vzznr7
http://amzn.to/2hXSAQj
http://amzn.to/2vzPepv
http://amzn.to/2fDaiHW
http://amzn.to/2hVXxc6
http://amzn.to/2vTvpfH
http://amzn.to/2fD94fy
http://amzn.to/2vA0vX1
http://amzn.to/2hWgT0O