Joy to the World! That song so reminds me of Christmas because as a little girl I was full of joy and glee waiting for Christmas to arrive. Of course though, what child isn’t? Right? Well, I feel the same way every single month when it comes time to reveal the card kit. This month is no exception because Christmas cards are my most absolute favorite cards to make! So let’s get cracking on those Christmas cards! Have you started yours yet? Well, if not, here are some fantastic little collections to get you going. So run, don’t walk to make sure you get your Flavor of the Month kit this month; it is packed full of JOY! Also, you could win a past kit if you head back to the SFL blog and join in by participating in our rafflecopter!
Hello and welcome! Today I am thrilled to present to you the October card kit for Scrapping for Less. I was invited to be a guest designer this month, and today is reveal day! The Flavor of the Month Card Kit this month is called, “Joy to the World.” This title describes my feelings exactly upon seeing this kit in person and creating cards with it.
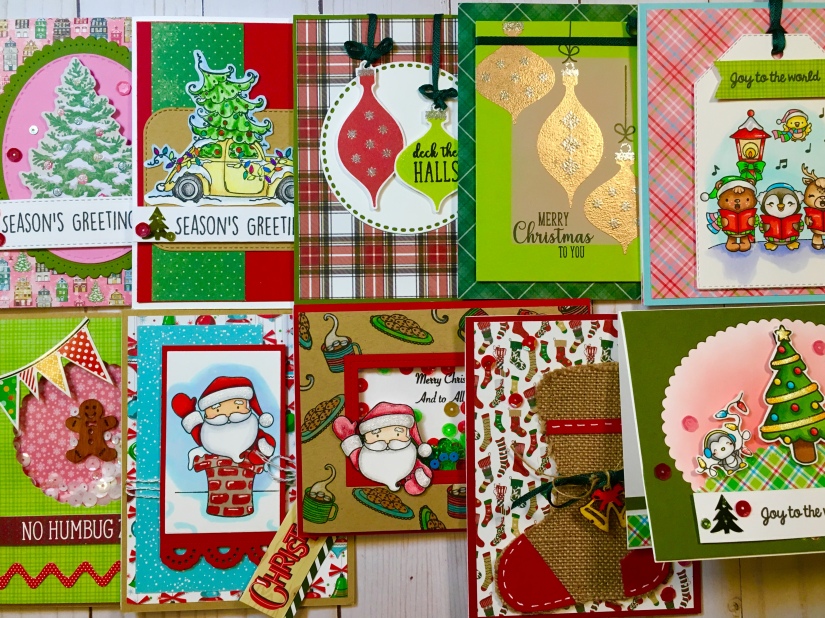
This month’s kit is all about Christmas–my favorite holiday to make cards for! I created two cards with each Double Dip Sundae collection and two with the Banana Split ingredients. However, I could have kept on creating with the myriad of supplies included in each collection.
There are four collections in the Double Dip Sundae Kit as well as 6 sheets of colored cardstock and 2 of Neenah 110lb smooth white. Each collections is packed with creative fun. I was also sent the Banana Split ingredients–mine included Frosted Lace Stickles, a jute stocking, a tag die, and a darling stamp set by Scrapping for Less called, “Reindeer Games.” The Flavor of the Month Card Kit is an incredible value!
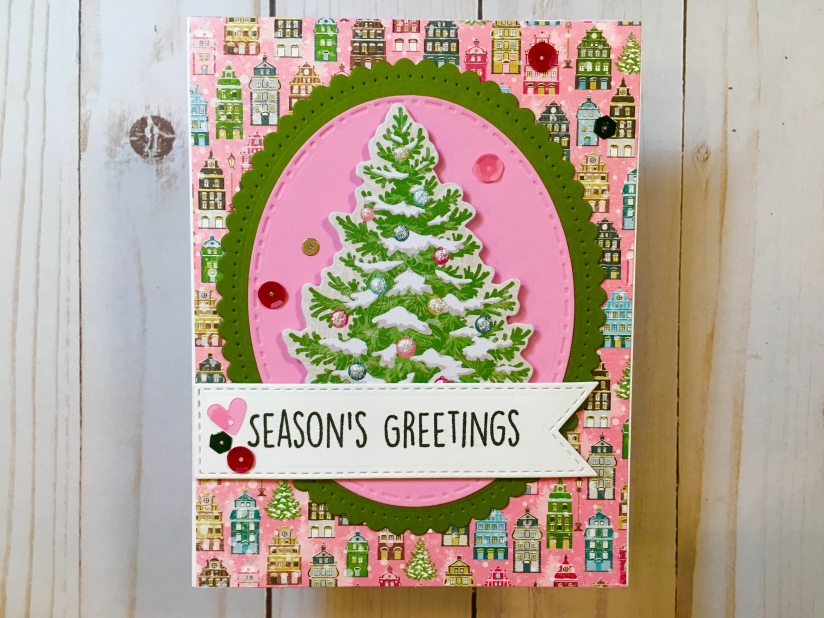
Card #1: Christmas Tree Ephemera Card
For my first card I chose this cute Christmas tree ephemera as my focus. This is a very feminine card with the pink pattern paper and the pink oval die cut. My sentiment came from the stamp set included in this collection called, “Christmas Bug.” I dipped into the Banana Split ingredients and pulled out the Frosted Lace Stickles and applied it over the bulbs on the tree. This was a quick and delightfully fun card to put together.
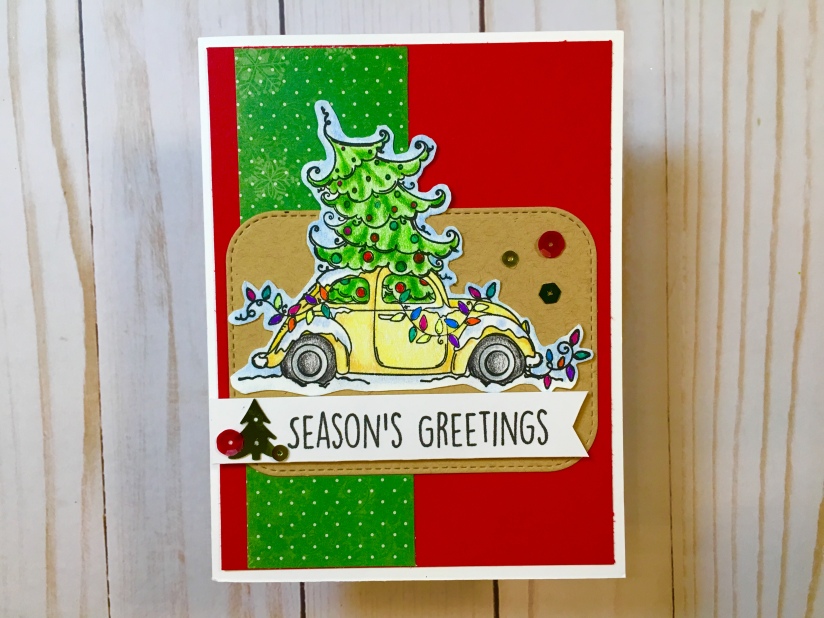
Card #2: Christmas Bug Card
Prismacolor Pencils: Bug – Canary Yellow 916, Goldenrod 1034 Tree – Apple Green 912, Olive Green 911 Tires – 90% Warm Grey 1058, 50% Cool Grey 1063, 10% Cool Grey 1059 Snow – Blue Slate 1024 Sky – Light Cerulean Blue 904
I was excited to ink up the bug image from this first collection and color it in with my favorite medium–Prismacolor pencils. This would make a great masculine Christmas card; however, it would really work for anyone. I used sketch #3 from the Flavor of the Month Card Sketches to pattern my card after. I’ve never really used sketches before, but I gotta tell ya, it took my creative tendencies in a direction they never would have gone, and I love the result.
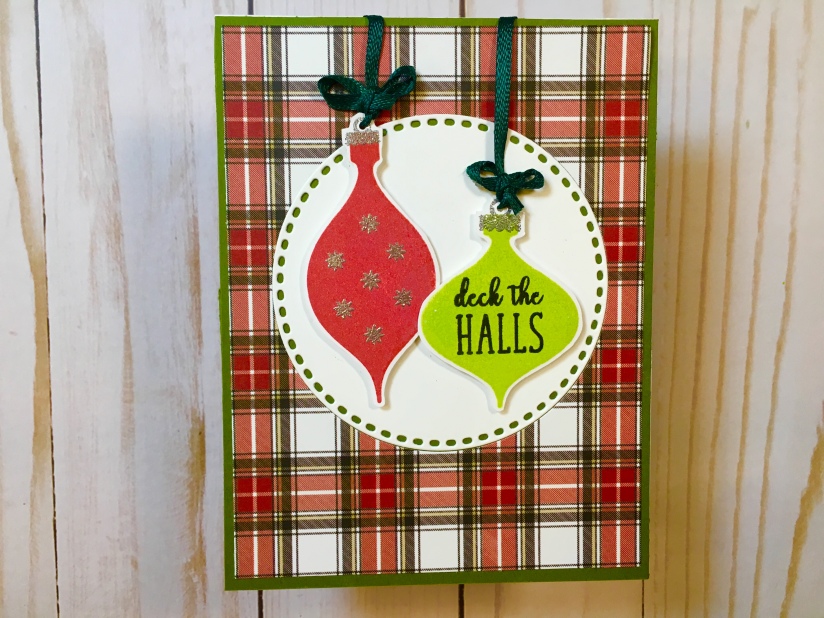
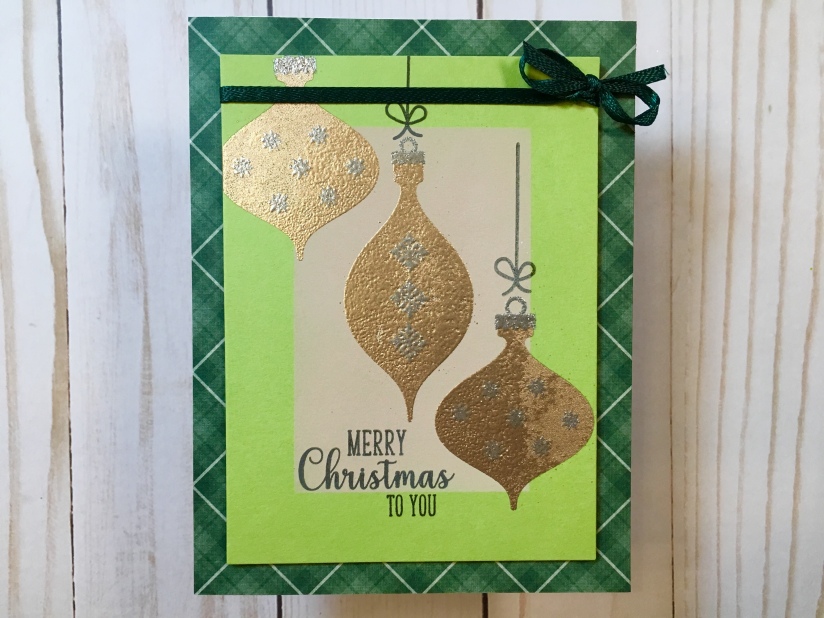
Card #3: Deck the Halls Baubles
Distress Oxides: Twisted Citron & Fired Brick
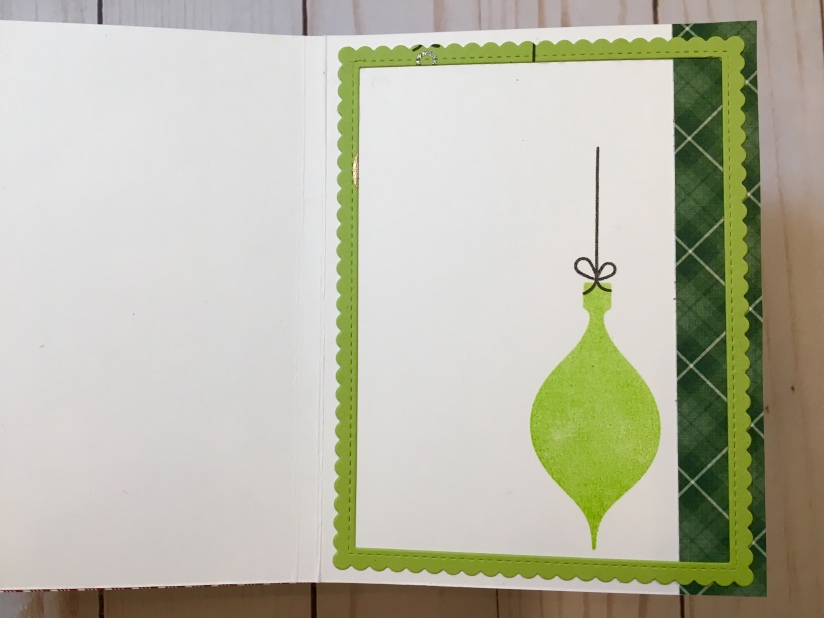
I love Gina K Designs products; so, when I saw this fabulous Gina K stamp set, I couldn’t wait to play with it! I used Distress Oxides to ink it up, and then I heat embossed the sentiment, the stars, and the toppers with some silver glitter embossing powder from Wow. To put the focus on the pretty baubles, I adhered a white circle die cut behind them. The plaid pattern paper behind that coordinated perfectly. I also use the ribbon from this second collection to tie onto the baubles.
Card #4: Silver & Gold Baubles
Silver and gold go hand-in-hand with Christmas cards. For this card I heat embossed the baubles with gold embossing powder and added accents to them with silver embossing powder. This stamp set is fun because you can mix and match all the smaller images to decorate the baubles. The pattern paper I used behind my main panel is a beautiful plaid, and I’m going to need much, much more of this in my stash. Lol!
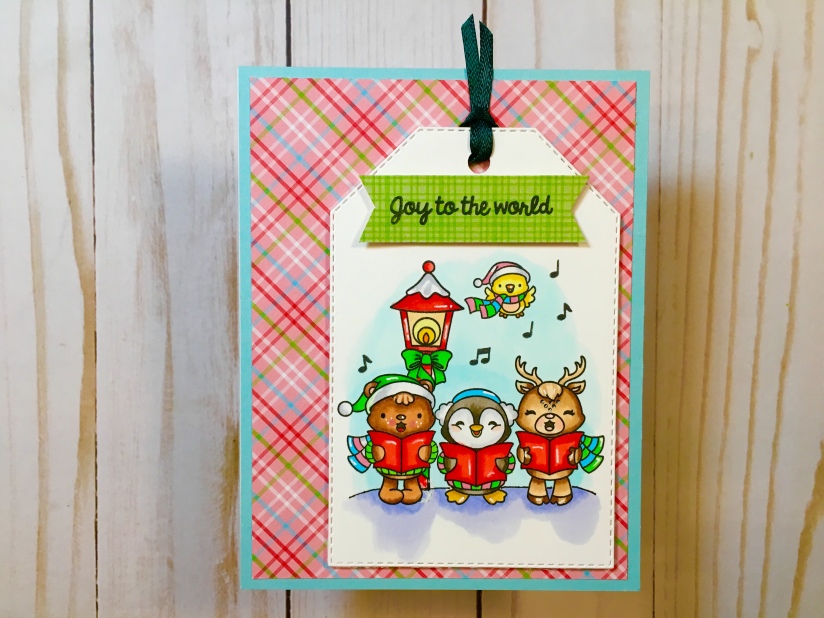
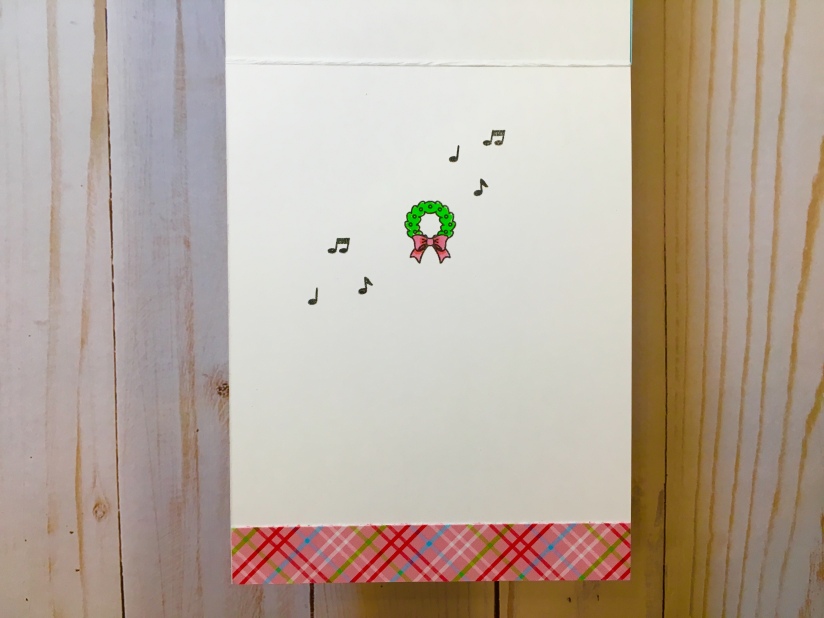
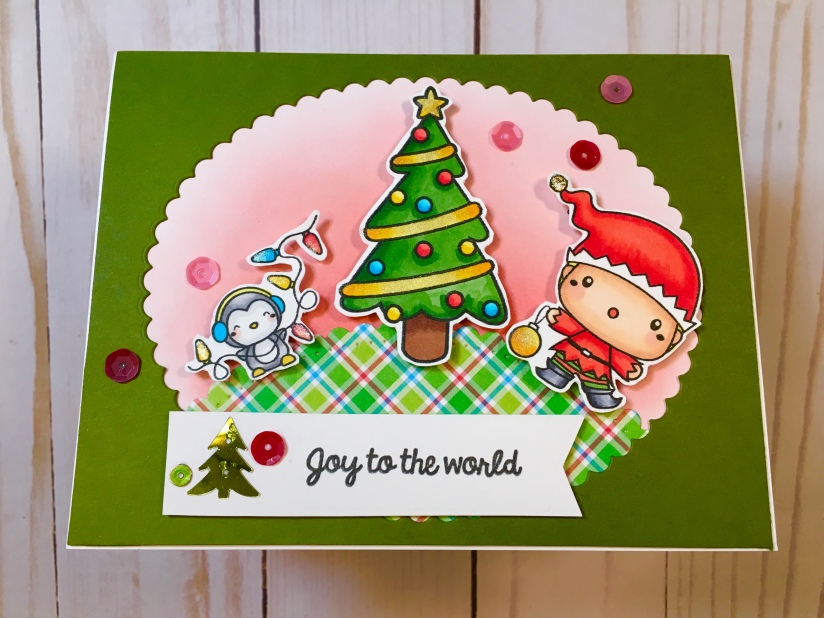
Card #5: Cute Carolers Card
Collection three made me kinda giddy. I love the Christmas carolers in the “Joy to the World” stamp set and the pink plaid pattern papers–both of which were created by Pink and Main. I colored in this little quartet with Copic markers. I cut them out with the tag die from the Banana Split collection and popped it up on the plaid paper with some foam tape. I used sketch #4 to put this card together.
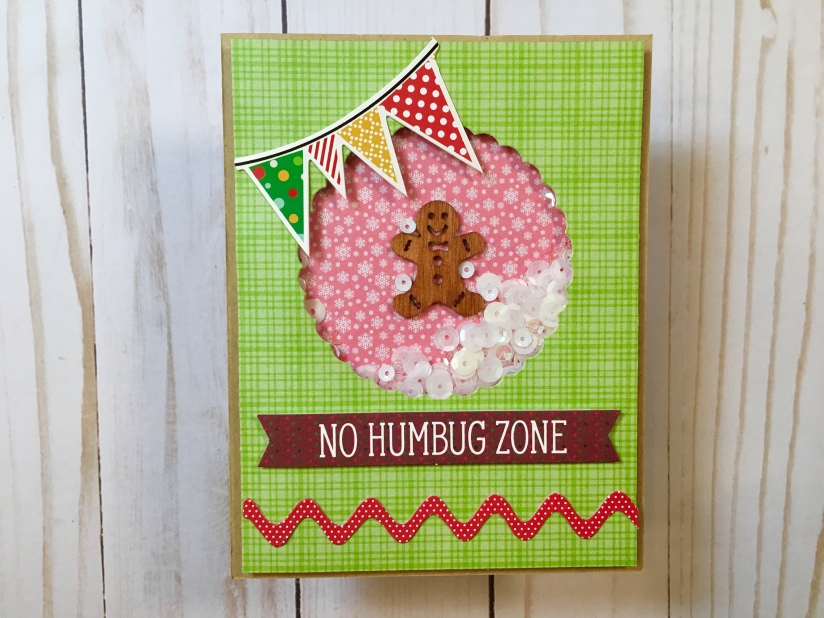
Card #6: Gingerbread Cookie Card
Copic on gingerbread cookie – E35
Shaker card time! This gingerbread wooden Christmas shape was the perfect focus for card #6. The white sequins around him look like sprinkled sugar. I did color in my little gingy with a Copic marker to make him look like he was baked and ready to pop out of the oven. This will make a great kid’s card!

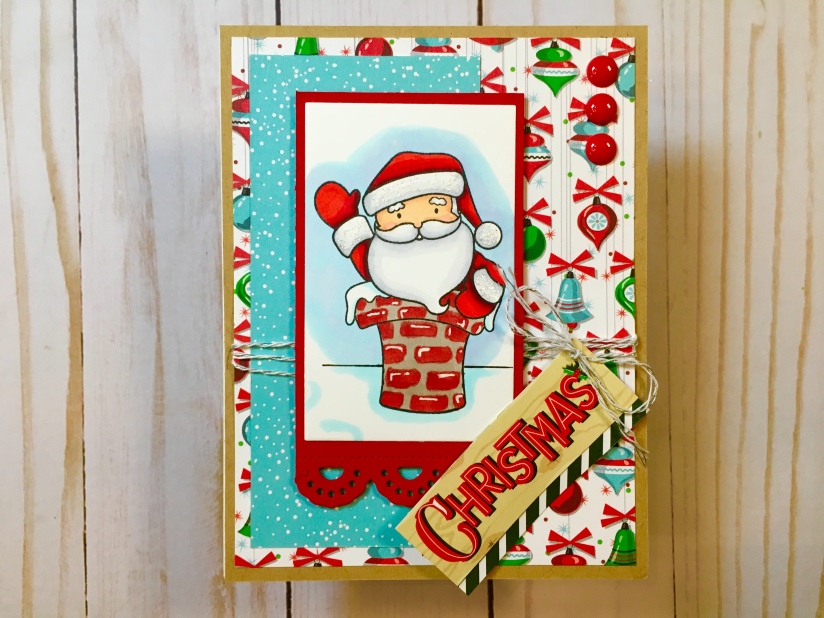
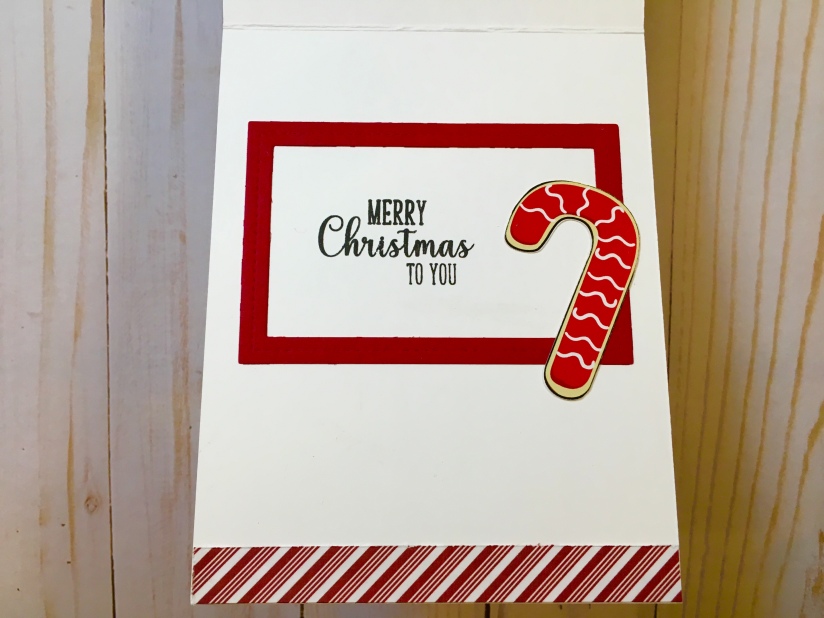
Card #7: Santa in the Chimney Card
Copics: Bricks – E07, W3 Gray Bread & Fur – C2, C00 Snow – B000 Red Coat & Hat – R89, R29, R27 Skin – E51, E11, R11 Sky – B60, B000
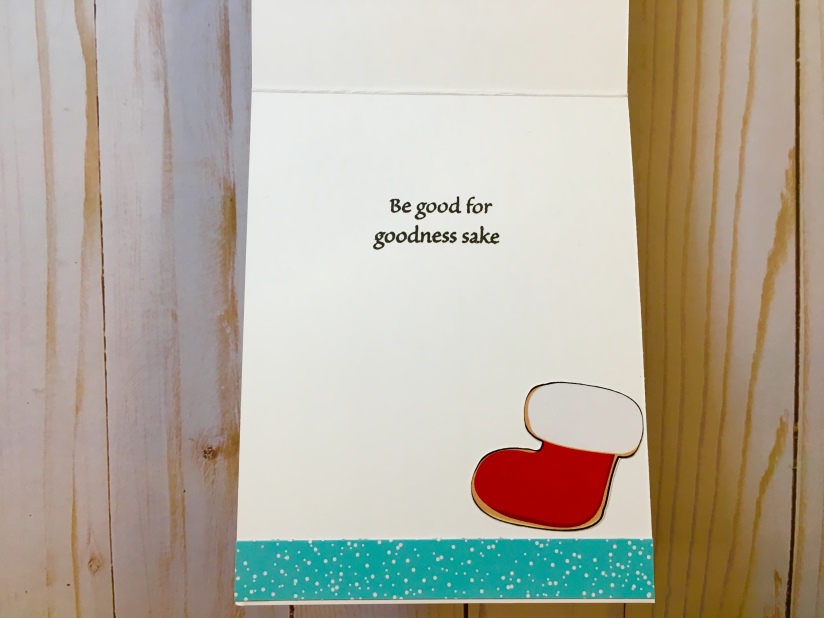
I patterned this card after sketch #2. I really had fun using these sketches. I colored in this little Santa from the stamp set by Scrapping for Less called, “Cookies for Santa” with Copic markers. My favorite part of the coloring was making this chimney into a brick chimney with more Copics. My sentiment that simply says, “Christmas” comes from one of the cut-apart pattern papers from this collection. I stamped another sentiment on the inside of the card that says, “Be Good for Goodness Sake.”
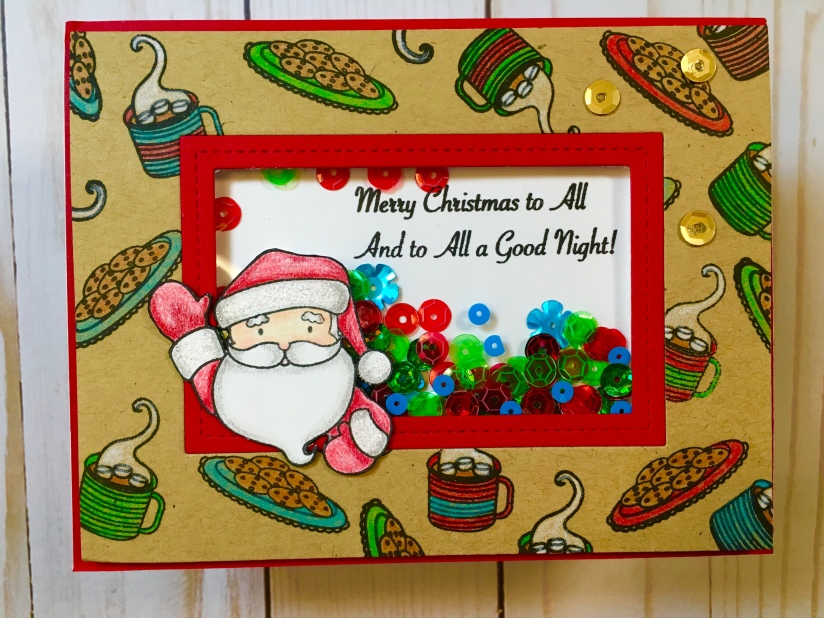
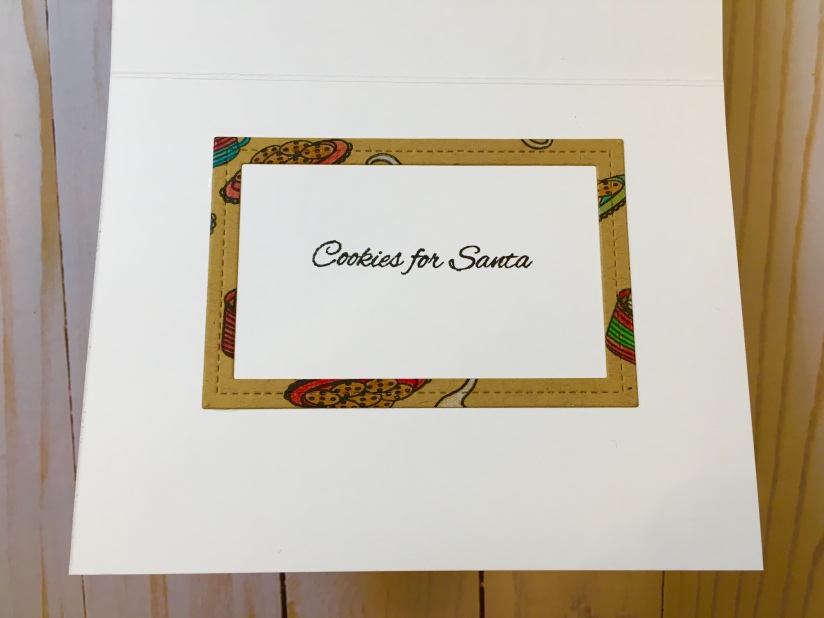
Card #8: Cookies & Cocoa for Santa Shaker Card
I think this card is my favorite. I really enjoyed stamping the two small images from the “Cookies for Santa” stamp set repeatedly across this panel of Paper Bag Kraft cardstock. I colored them in using some polychromos colored pencils. I used the same medium to color in the Santa, and I fussy cut him out so he looks like he’s inside the window waving hello. I used all the sequins from this collection inside this shaker window.
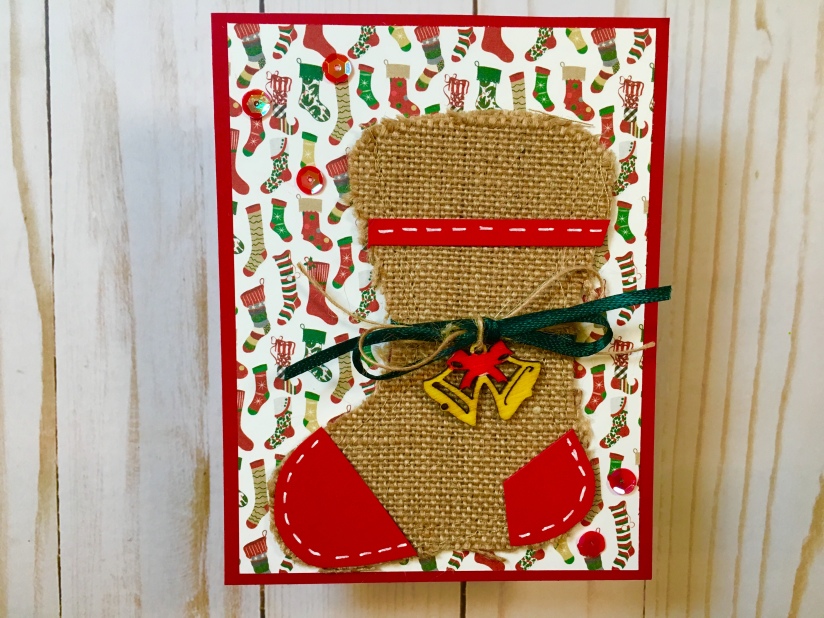
Card #9: Jute Christmas Stocking Card
I wish I could have found a small candy cane to put in this stocking, but they didn’t have any at my local grocery store yet–soon, I’m sure. This stocking is from the Banana Split collection, and I adhered it to my card base with some strong double-sided adhesive. To make it coordinate more with the paper of the card, I added more paper on top of it. I thought the pattern paper behind it was a perfect backing for this cute stocking.
Card # 10: Joy to the World Card
I love the images from the stamp set in the Banana Split collection. This set was created by Scrapping for Less and is called, “Reindeer Games.” I’m definitely going to make more, a lot, lot more cards with it. I colored in the images with Copic markers and fussy cut them. I ink blended some Abandoned Coral Distress Oxide onto a piece of Bristol Smooth cardstock to add color to the scene behind the little characters. I popped them up on the card with foam squares. The green cardstock framing them was left over from my first card where I die cut an oval out of it. I love putting scraps to good use!
Here is the instructional video for these cards. You can watch it here or over on my YouTube Channel in HD.
A BIG THANK YOU to Scrapping for Less for inviting me to be a guest designer! Check out this fabulous card kit over on their blog: Flavor of the Month Card Kit.
You can also go to their Web Site to download the Checklist and the Sketch Sheets.
Next on the blog hop is the fabulous Mary Polanco! Keep hopping along for some more crafty inspiration.
Thank you for stopping by, and I hope you have a wonderful day!

Your cards are awesome, I’m a fairly new viewer to your youtube (about 2 weeks) and you do some great work.
LikeLiked by 1 person
Thank you so much, LeeAnn!!
LikeLike
WOW! So many awesome projects! Love them all!
LikeLiked by 1 person
Fabulous cards, Jackie! So much inspiration!
LikeLiked by 1 person
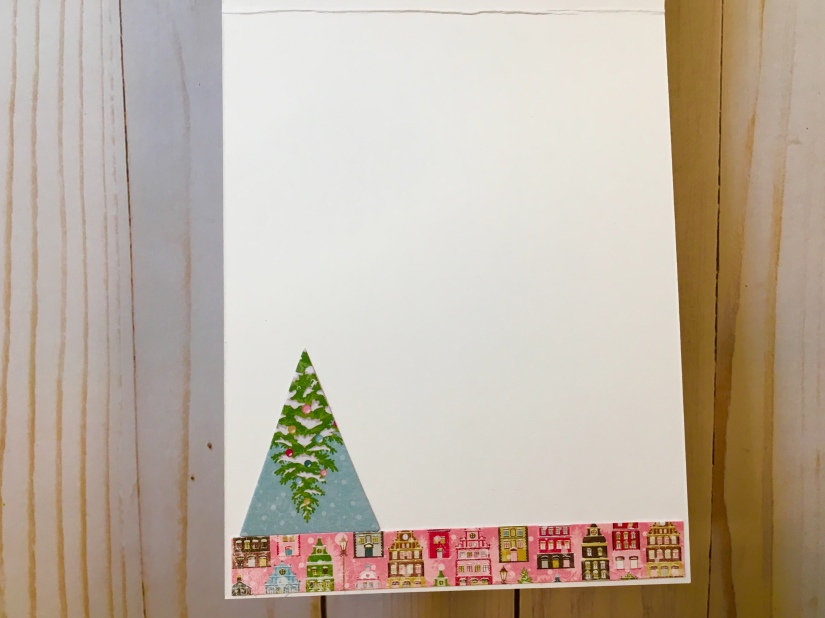
OMG! Jackie, your cards are just gorgeous! I LOVE LOVE LOVE that you finished the insides too! Thank you so much for joining us this month.
LikeLiked by 1 person
Thank you, Stacy! I had so much fun! These kits are fabulous!
LikeLike
I love these cards Jackie, especially what you did with the stocking from the banana split pack!!!
LikeLiked by 1 person
Just beautiful! I love each of them and the inside of the cards too!!! Thanks so much for sharing!
LikeLiked by 1 person
Adorable cards! You were busy! The VW bug with the big tree is just as cute as can be!
LikeLiked by 1 person
Great cards, Jackie! Thanks for sharing! I love your YouTube videos!
LikeLiked by 1 person
Thank you, Debbie!!
LikeLike
AMAZING and BEAUTIFUL cards! They are all so fun and whimsy! You are truly a very talented artist!
LikeLiked by 1 person
Thank you so much, Cindy!!
LikeLiked by 1 person
making the shaker window; my sequins went into the double take on the sides instead of free floating. What did I do wrong.
LikeLiked by 1 person
Hi Wilda, try using your anti-static powder around the edges of your shaker well. This will take away the stickiness on the edges of your tape and allow your sequins to shaker around better.
LikeLike