Hello! I had so much fun creating cards with Simon Says Stamp’s October Card Kit! It included a lot of products that I had never used before. The large stamp set called Sketched Flowers was a hit all by itself–what gorgeous, versatile flowers! So much fun was packed into this kit.

Card #1: Thinking of You Card using Alcohol Inks & Yuppo Paper
I’ve watched many videos of card crafters using alcohol inks on Yuppo paper–a synthetic, non-porous paper. However, for some reason, I never jumped on the alcohol ink/Yuppo paper bandwagon. I should have a long time ago because it is tremendous fun! Dropping those beautiful inks on the paper and watching them move and blend is kinda enthralling. After I was happy with the background I achieved, I let it dry for a few minutes–it was still tacky in places–and I pressed foil paper onto it. The effect was a sparkly, marble-like background. These backgrounds would be great to use for masculine cards as well. I also used a strip of double sided tape to foil an angled stripe down my panel.


Card #2: Hello Card using Alcohol Lift Ink
I made another gorgeous background using alcohol inks and Yuppo paper for this card. I stamped out the largest stamp from the Sketched Flowers set using the lift ink. It gave me a beautiful white image of the flowers. I added a sentiment and some sequins and this card was complete.


Card #3: Hi Card with Transfer Alcohol Ink
Colored Pencils: Deco Yellow 1011, Light Green 920, Light Aqua 992, Aquamarine 905, Cobalt Turquoise 105
When I stamped out my image from card number 2, I had alcohol ink left on the stamp which I stamped onto a piece of white card stock. The image didn’t stamp out very clearly–I think I waited too long to stamp it out. However, I wanted to save this beautiful image, so I used Prismacolor pencils in similar colors to darken the lines. To add more interest I went ahead and colored it in. I framed it with a piece of Bright Yellow card stock and adhered it onto a piece of Peacock card stock.


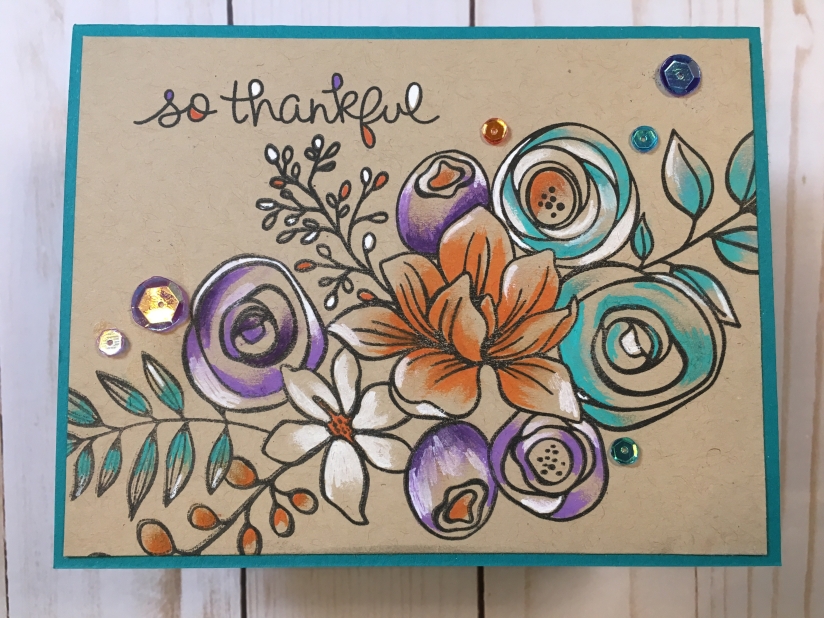
Card #4: Fall Themed Card using Gellyroll Pens
I have a box of gel pens that I rarely use, and I wanted to dust them off and give them a try on this card. I used a smudge technique where I’d scribble on some ink and then smudge it out with my finger. This was very fun to do, and I loved the result on this kraft card stock panel!

Card #5: Stamped Pattern Card
Prismacolor Pencils: White, Apple Green 912, Pink 929, Deco Pink 1014
This card was very fun and fast to put together. This would be a great design to make a whole set of and give to a friend. I randomly stamped out the single images from the stamp set–I also used two of the sentiment to stamp around the card. I colored in the images with Prismacolor pencils and then added gel dots for more interest.


Card #6: Masculine Birthday Card with Orange Foil and Blue Flowers
Prismacolor Pencils: White, China Blue 1100, Electric Blue 1040, Pale Vermilion 921
This card didn’t turn out the way I had envisioned it, but I still liked the finished product. I die cut circles from Stick It adhesive and place them across the panel. I thought they would foil out into perfect circles, but I think the adhesive was just to thin for this technique. The card turned out kinda shabby-chic, but it’s still cute. I stamped out three flowers and colored them with Prismacolor pencils in complimentary colors. I think this would be a great masculine birthday card in spite of the flowers.


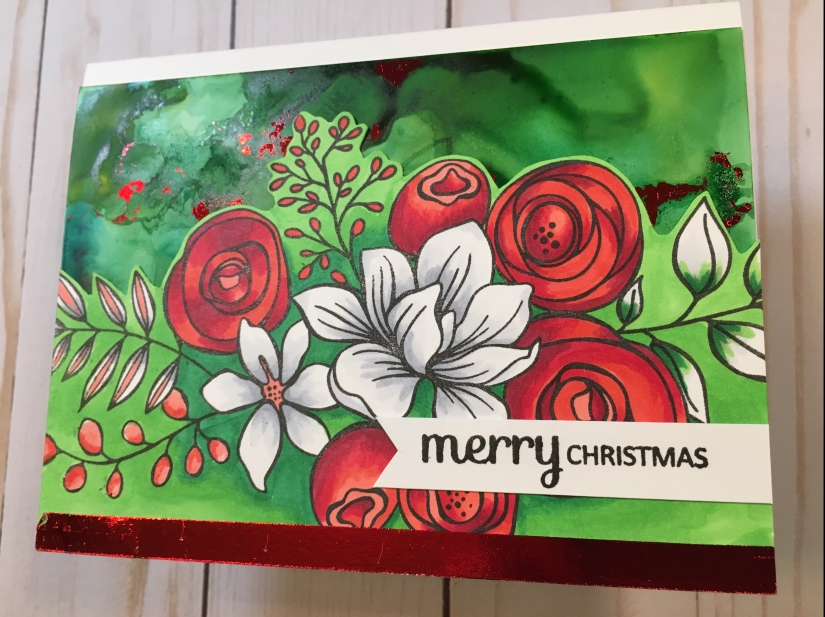
Card #7: Christmas Card using Sketched Flowers Stamp, Alcohol Ink and Yuppo
Copics: C00. C1, C4, R39, R29, R24, R22, G09, YG07, YG06
I wanted to show how versatile this stamp set is. You could use it for any occasion. I colored in the flowers with reds and greens–leaving some of the flowers white. I also created a alcohol ink background in green by blending the blue and the yellow inks from the kit. I then foiled the background with red foil. For added interest I adhered a strip of double sided adhesive and covered it with more red foil.
Card # 8: Thinking of You Card
Copics: Greenery – YG63, YG61, YG41 Yellow Rose – Y11, Y15, Y17 Orange Flower – YR07, YR04, YR21
This is a simple yet charming design. I love the fall look to it. The Burnt Orange card stock from the kit was my favorite. I need to get some more of this! I cut out a circle in this card stock and popped it up with foam tape. I stamped and colored in the flower using Copic markers and adhered them in the center of this frame. I heat embossed the sentiment with white embossing powder and it sure does pop off of this card stock.


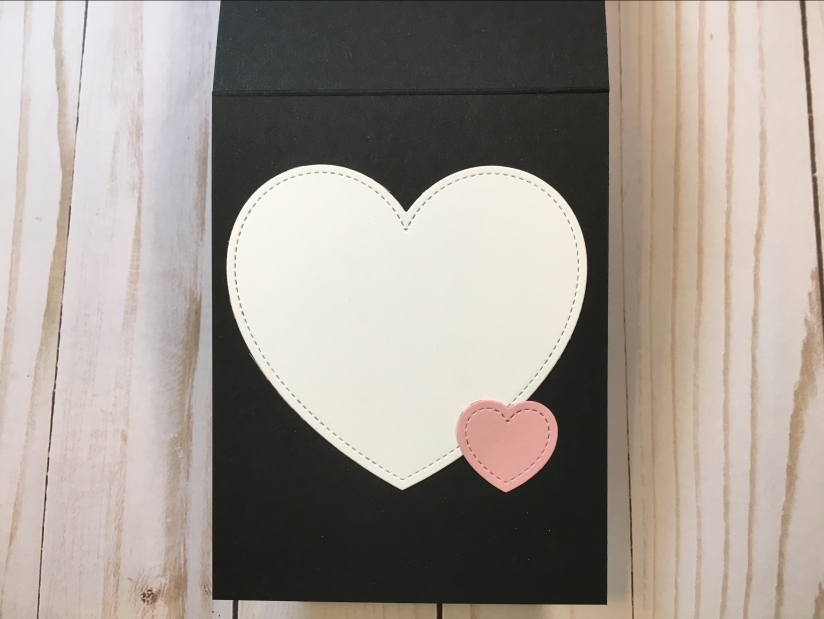
Card #9: Valentine’s Day Card
Copics: YG06, RV02, RV06, R14, R27, R39
I used the gorgeous Sketched Flowers stamp again to create a Valentine’s Day card. I stamped it out on a piece of white card stock and a piece of pink card stock. I then die cut the two panels. I only colored in the image on the heart. It was fun using Copic markers on colored card stock! I then added foam tape behind it and aligned it on the white panel. The little “love you” sentiment from the set fit perfectly in the top corner of the heart.

Card #10: Botanical Yuppo Paper Die Cuts Card
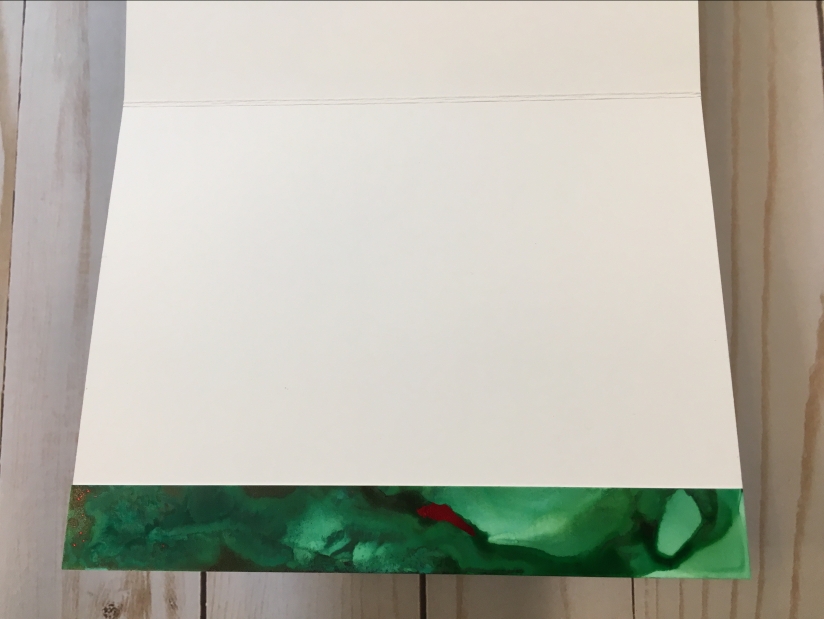
I had fun putting this design together. I created another alcohol ink background and then used the lift ink to stamp out the three single stamps from this set. I then die cut them with a square die–you could use your paper trimmer to cut them out. Before adhering my die cut with foam tape, I stamped out three of the sentiments from this set. I added this panel onto a white card base. It was only after I adhered everything together that I decided it needed a twine bow, so I carefully peeled off the Bright Yellow card stock. This added a cute touch. For the inside of the card, I used the ink that transferred on the stamps when I used the lift ink on my Yuppo paper. I stamped them on the inside of my card base right away–I didn’t give it any time to dry.


I could have kept on creating cards with this fabulous kit. This one was definitely a winner. Check out my Etsy shop–I have a lot of my cards available there. Thank you for stopping by! I hope you have a wonderful day!
Here’s the video showing how I created these cards. You can watch it here or over on my YouTube Channel in HD.

Jackie. I just found your video on YouTube. I really like your style of teaching. Your cards from the October kit are really nice. My favorite is the Christmas one although I really like them all. So glad I came across your video and look forward to seeing more. Thanks and enjoy your day!
LikeLiked by 1 person
Thank you, Kathy!!
LikeLike
Beautiful cards. I love the techniques you shared and I will definitely be CASE’ing a few of your cards. I love this stamp set, too, it’s so pretty.
LikeLiked by 1 person
I had never colored on colored card stock before I’d seen you do this! I just LOVED what you did, I’ve now made several sets colored with Prisma colored pencils. I actually had to go buy a few new replacement pencils because I used them too short to use anymore for the first time ever! Thanks for teaching such neat & beautiful techniques!
LikeLiked by 1 person
I’m so glad you liked them! That’s great that you are having fun using your Prismacolors on colored card stock!! I love doing that too. Love that you had to replace some pencils! Lol! That’s fun. I’m just glad they sell them separately because I go through some of mine pretty fast too. Have a wonderful day!!
LikeLike
What a fabulous set of cards! I had to make myself stop after pinning three of them. Thank you for the video.
LikeLike